Self-Guided Walks
If guided tours aren’t really your style, why not check out the best Carnarvon Gorge self-guided walks below?
First Things First - Collect a Map
Visitor Information Centre & Day Use Area
- Click to download the official walking map or collect from the Information Centre in the National Park.
- Opening hours are 8 am to 4 pm daily.
- This is an unmanned, self-guided information centre. National Park Rangers will be busy carrying out a range of essential land management and maintenance tasks.
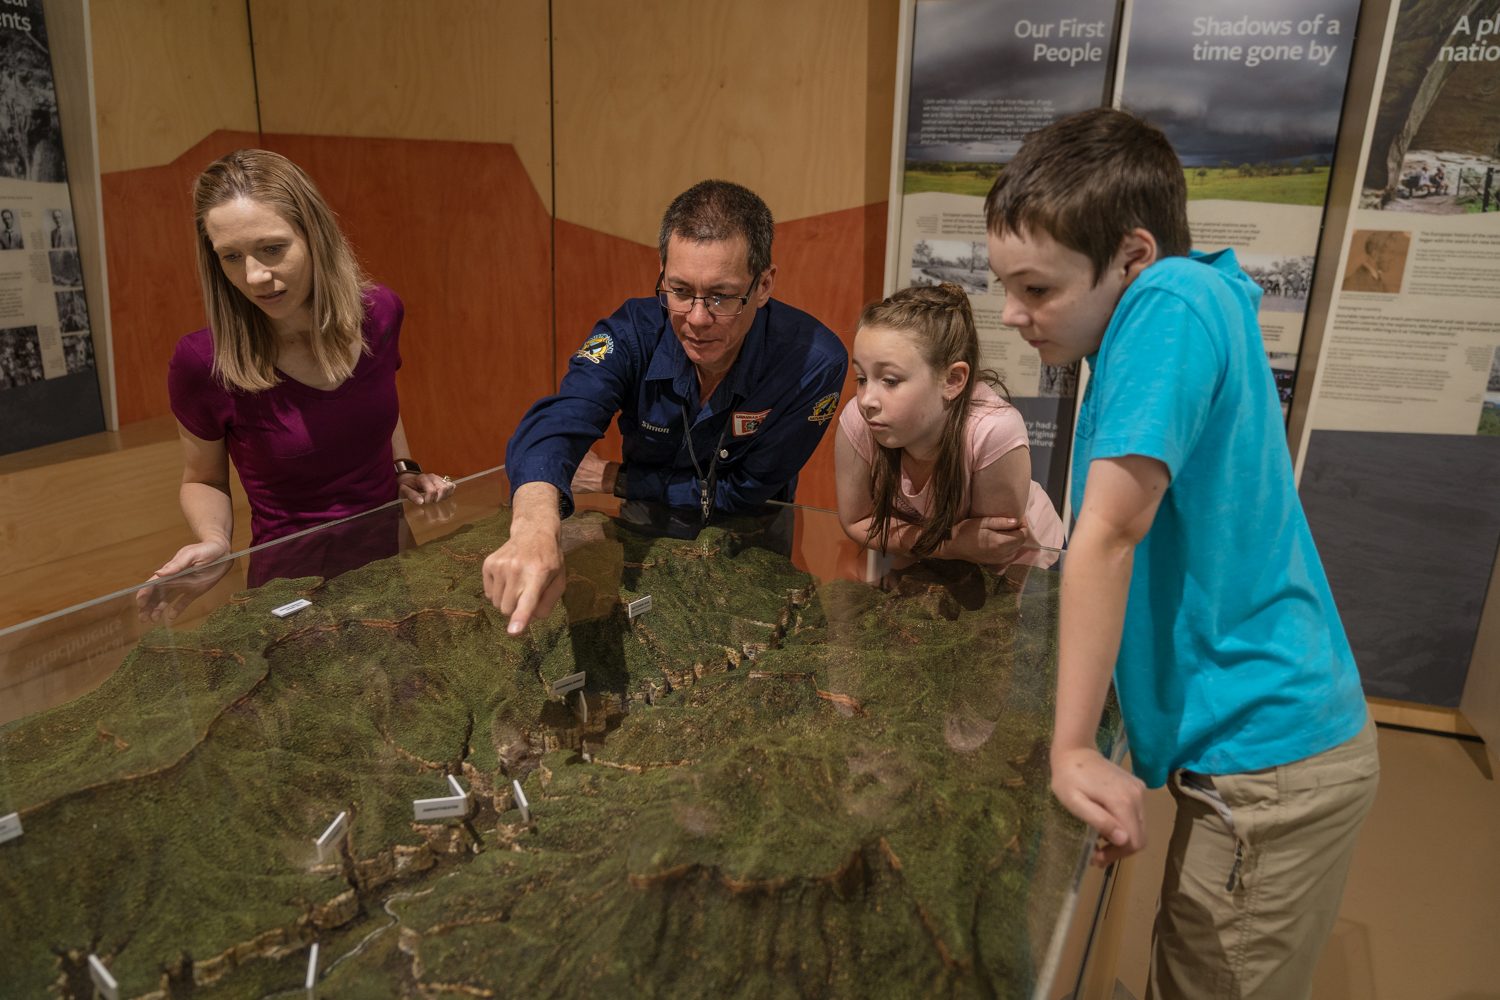
- Static and interactive displays offer a wide range of information on flora, fauna, geology and human history.
- Public toilets are available in the Day Use Area.
- Free wifi is available at the Visitor Information Centre, but is limited to 200mb per user, per day.
- Limited Telstra reception is available in the Day-Use Area. Usually only one bar at most. No reception available on the walks.
- Picnic tables and free BBQs are available for public use in the Day Use Area.
Day Use Area
If you’re keen to learn about Carnarvon Gorge at your own pace, then make sure you allocate some time to explore the recently refurbished Visitor Information Centre.
There are a number of static and interactive displays suitable for young and old. Whether it’s wildlife, plants, geology or human history that interests you, you’ll find plenty to keep you occupied.
Or go for a wander around the grounds of the Day Use Area. There are plenty of opportunities to observe native wildlife, such as kangaroos, wallabies, echidna and a wide range of bird species. Plus, it’s a nice, easy option for those who struggle with mobility.
Next - Choose a Section
Carnarvon Gorge Self-Guided Walks
Gorge Mouth
The walks around the mouth of Carnarvon Gorge may visit some of the lesser known sites, but that certainly doesn’t make them any less special or diverse. Epic views, narrow side gorges, “gorge-ous” swimming holes, and plenty of native wildlife are just some of the highlights. Wildlife lovers will find this section particularly enjoyable, with a range of native species being typically more abundant around the mouth, especially early in the morning, and late in the afternoon.
The Gorge mouth is also where you’ll find the National Park’s shortest walking trails, though, be prepared for some to be far more challenging than others. Boolimba Bluff, for instance, is considered to be the most difficult in this section, with a significant climb of almost 1000 stairs being the most challenging component. The Rock Pool, on the other hand, is just 200 m from its dedicated car park, making it perfect for those who prefer a nice, leisurely stroll. All of these shorter walks are great options for when time is not on your side. For instance, the afternoon of your arrival or the morning of your departure.
Top Tip
Mickey Creek & Warrumbah Gorge
-
3 km return. Easy - Intermediate.
One way in - one way out
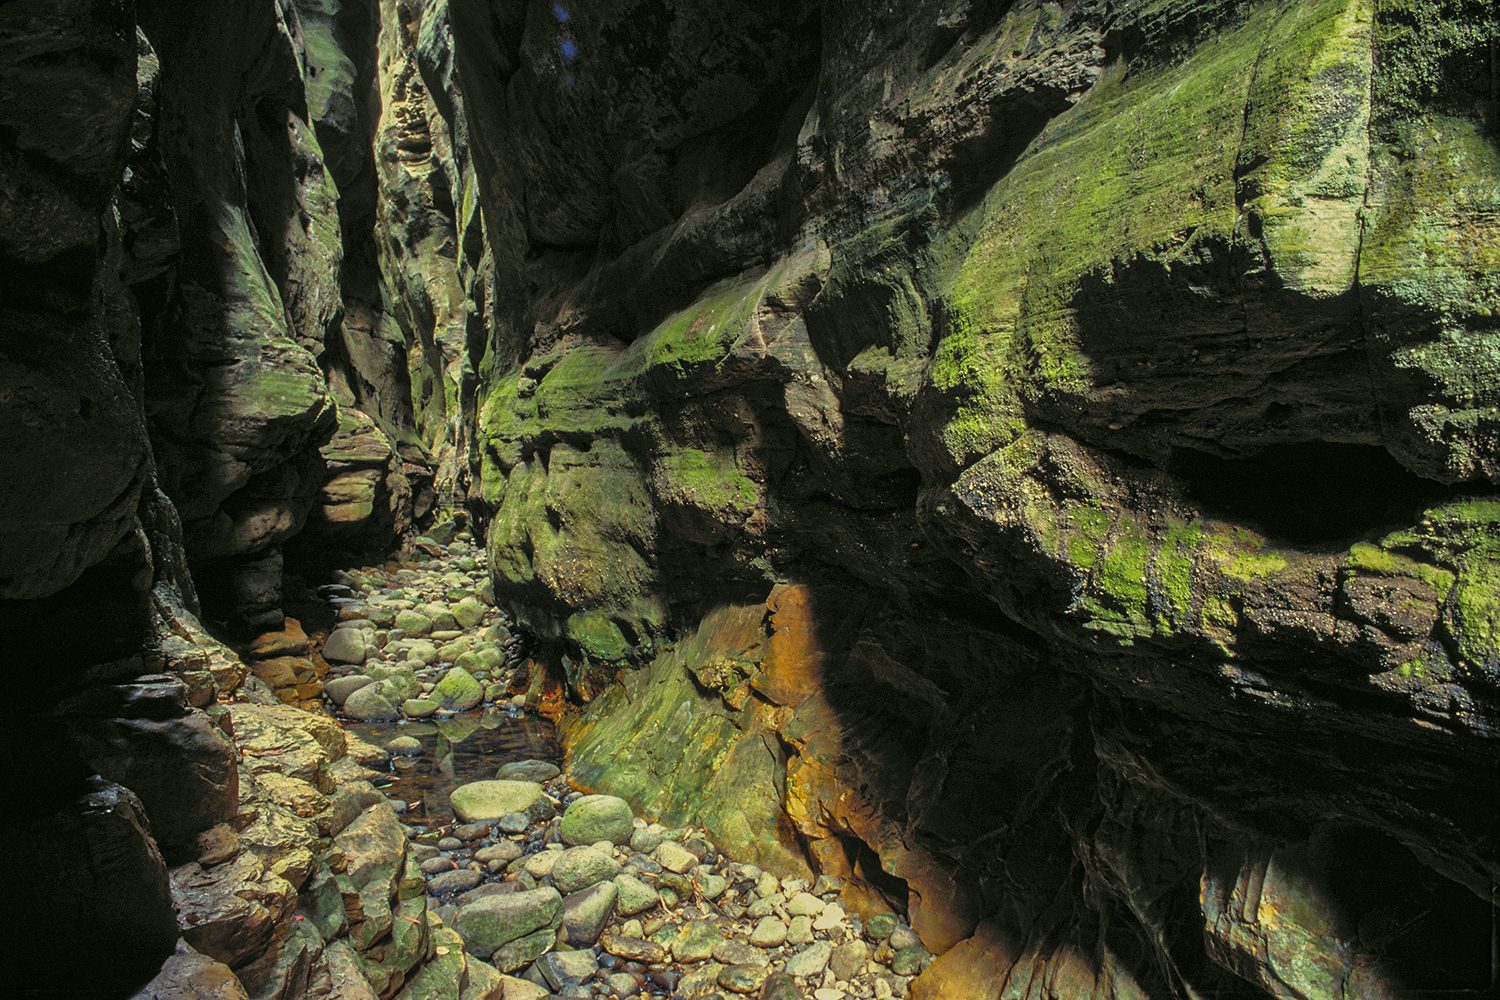
These are two of Carnarvon Gorge’s narrowest side gorges, each with their own unique character.
It starts off a single track, before you meet the forking allowing you to explore Mickey’s, which is typically more open compared Warrumbah, which is quite narrow and dark.
The first kilometre of this trail is relatively easy, but the narrower the environment becomes, the more rocky, uneven, and challenging the walk becomes. Explore as far as you feel comfortable.
TOP TIP: Best explored during the hottest part of the day, as it can get incredibly cool in here!
Rock Pool
-
400 m return. Easy.
One way in - one way out.
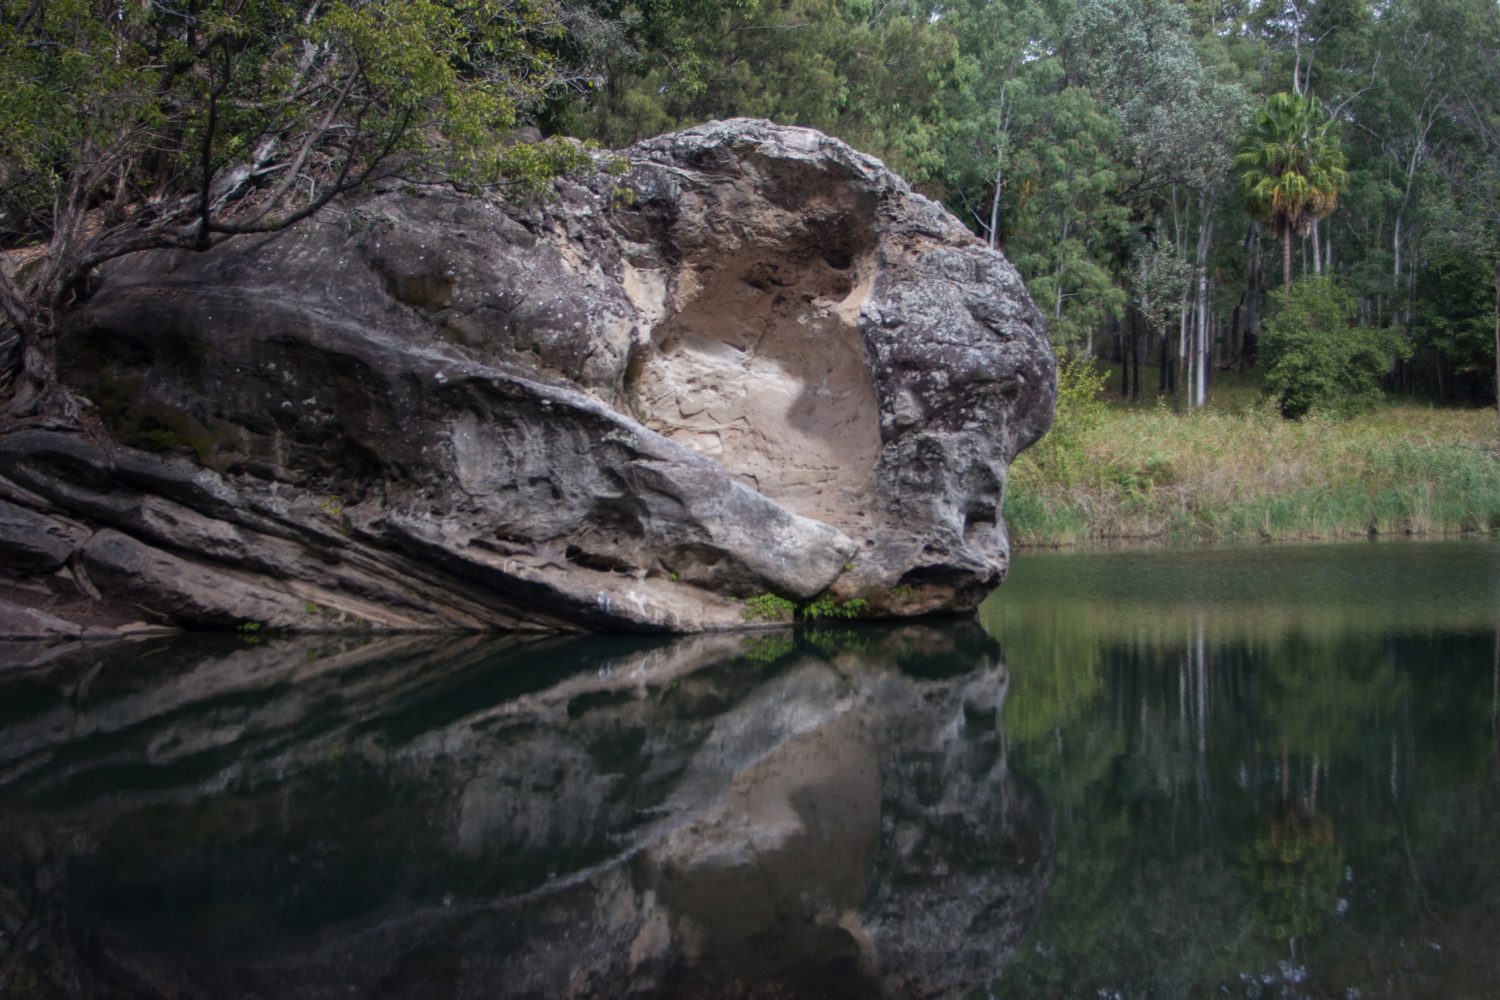
The perfect spot for a picnic lunch, a kip in the shade, or an afternoon swim following a big day of walking.
This is a nice short walk from the car park, but has a few uneven patches so watch your footing.
If you prefer to have places like this to yourself, be sure to visit early in the morning.
TOP TIP: For a longer walk, start and finish at the Day Use Area. 4 km return.
Nature Trail
-
1.5 km return. Easy.
Circuit.
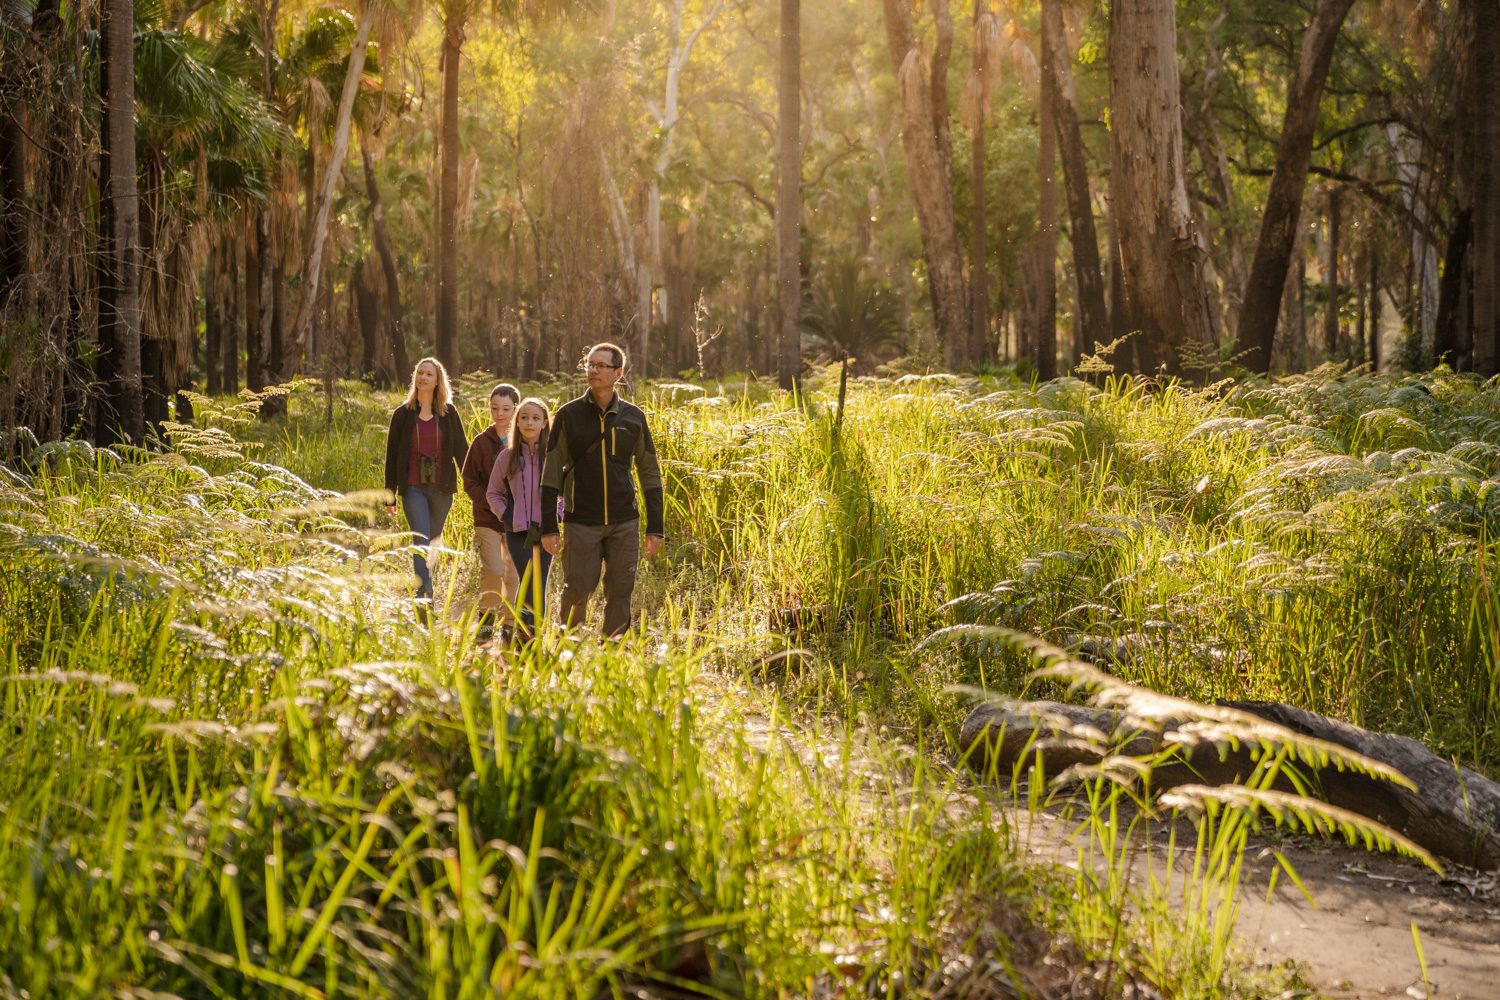
This beautiful creek loop starts and finishes in the Day Use Area, and offers one of the best wildlife spotting opportunities in the Gorge.
Birds, wallabies, kangaroos, echidna, and platypus being some of the usual suspects.
There are two stepping stone creek crossings, so take your walking poles if you’re unsteady.
TOP TIP: Start this walk at dawn for your best chance of spotting the elusive platypus!
Boolimba Bluff
-
6.4 km return. Intermediate.
One way in - one way out.
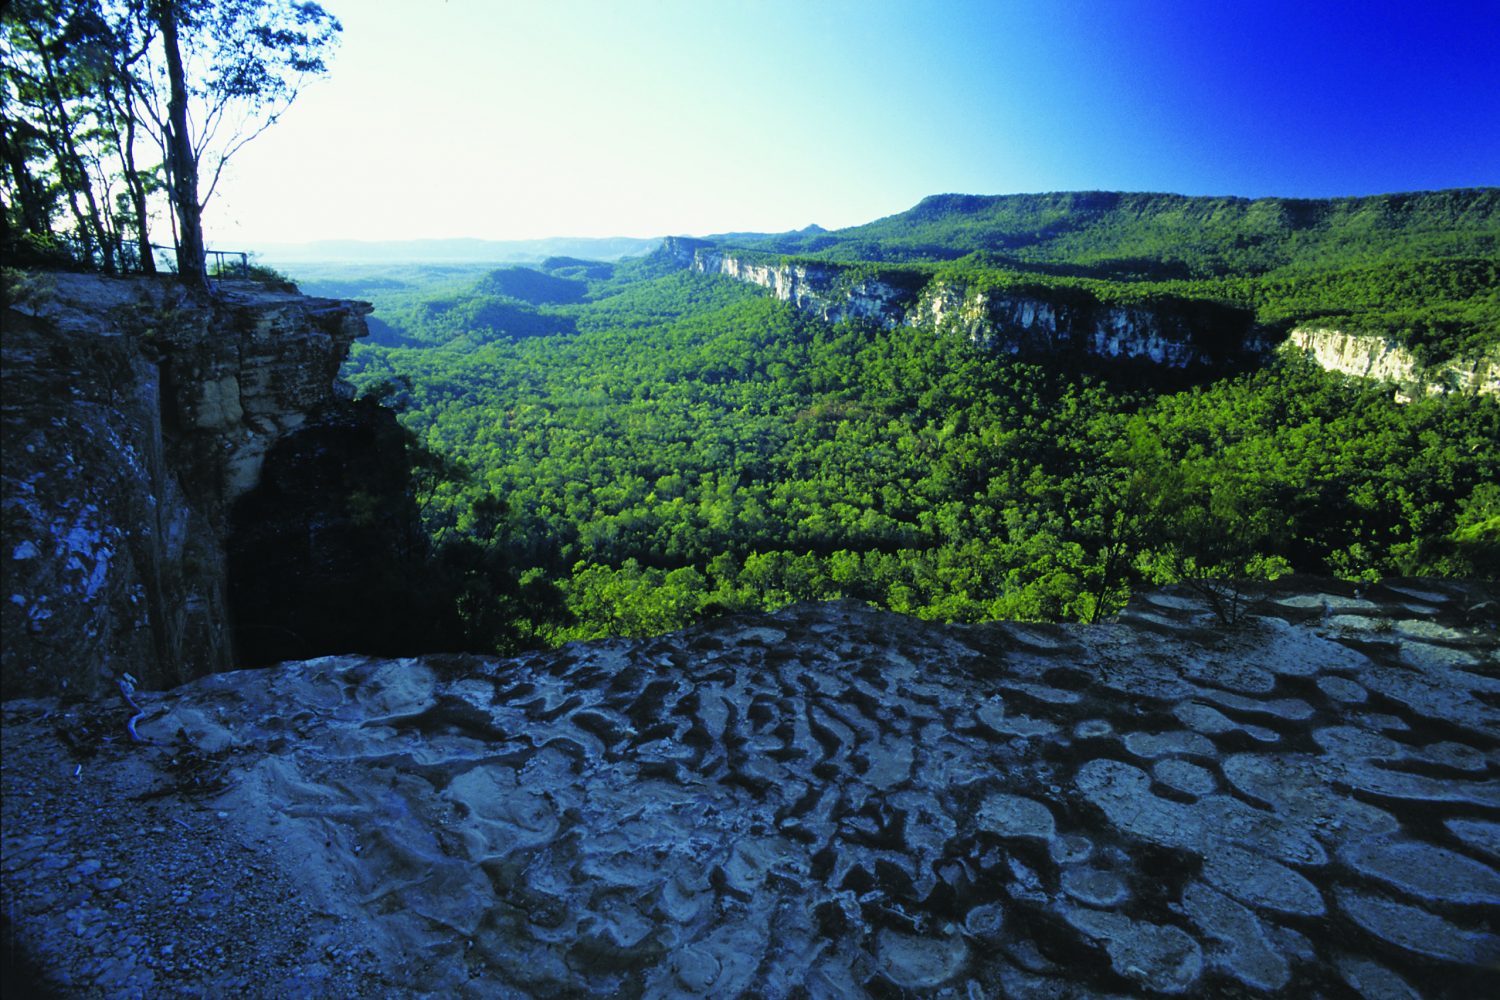
Climb two hundred metres above the Gorge floor to experience this spectacular view!
The first kilometre is easy, the second involves a steady climb up approximately 1000 stairs, and the third is nice and flat.
Catch your breath and soak in the view whilst perched atop the sandstone cliffs, before retracing your steps.
TOP TIP: Grab your head torch and start walking in the dark to be here for sunrise!
Lower Gorge
The lower section of Carnarvon Gorge is where you’ll encounter our local version of the ‘Big 4’: the Art Gallery, Ward’s Canyon, Amphitheatre and Moss Garden. Together, they total 14 km and are considered to be the classic Carnarvon Gorge experience! This is the same itinerary we use for our Lower Gorge Explorer Tour, so it must be a winner!
Each of these four major sites are completely unique, making for an incredibly diverse experience. And, coincidentally, they are all within close proximity to one another, so it makes perfect sense to group them together and visit all four in the one day. If you only have one full day at Carnarvon Gorge be sure to make this section your number one priority!
Accessing each of these sites means tackling the Main Gorge Track, which runs up the centre of Carnarvon Gorge for approximately 10 km. Along the way you’ll encounter a series of side-tracks, each leading to one of the major sites, often being quite steep.
The Main Gorge Track involves a number of creek crossings via stepping stones. Be sure to wear your best pair of walking shoes. Boots with ankle support are ideal. And consider bringing a pair of hiking poles along. The extra points of contact make the creek crossings significantly easier for those of you who are concerned about your balance.
Mind you, visiting all four sites in one day involves approximately 14 km of walking. So if you’re after something a little shorter, why not just visit one or two?
Top Tip
Art Gallery
-
10.8 km return. Intermediate.
One way in - one way out.
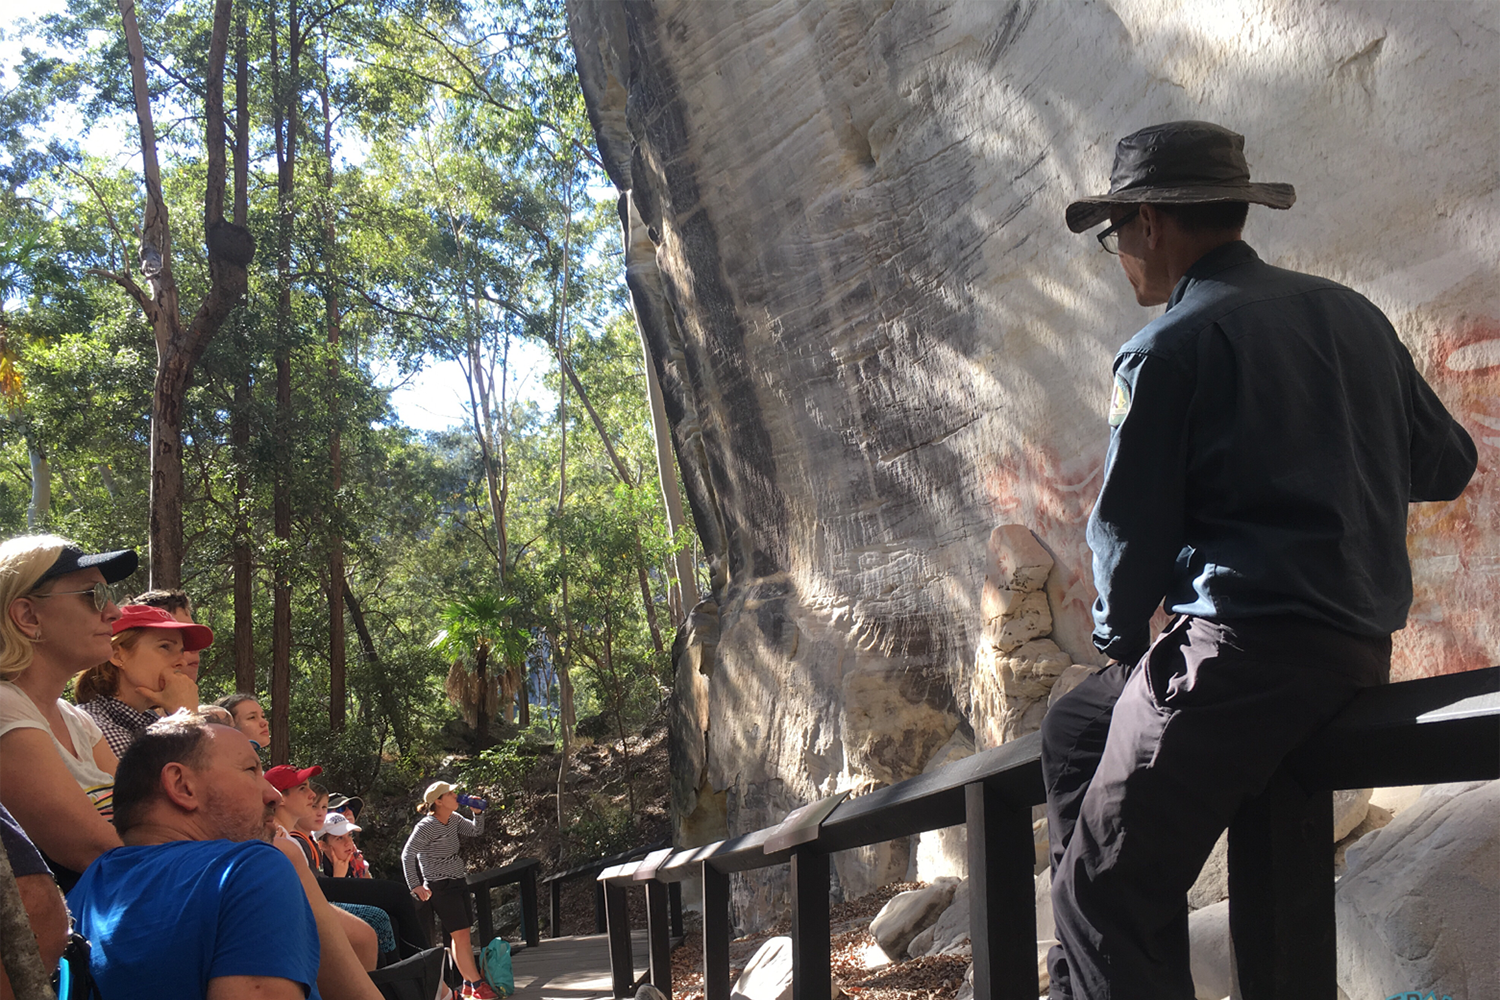
Explore over 2000 stencilled, engraved and free hand motifs created through ceremony by Carnarvon Gorge’s Traditional Custodians, the Karingbal and Bidjara peoples.
These cultures are regarded by rock art experts as the most sophisticated stencil artists in the world, so be sure to allow yourself plenty of time to gaze at the diverse range of motifs on display, and to absorb the atmosphere.
This is an incredibly important site from a Karingbal and Bidjara perspective, so please be respectful, and help us to protect the rock art by observing it from the designated walkway..
TOP TIP: Arrive before 10 am to ensure you have the best light for viewing the rock art.

Ward's Canyon
-
9.2 km return. Intermediate.
One way in - one way out.
Deviate 200 m from the main walking track up a steep, winding staircase, past Aljon Falls to experience the unique micro-climate of Ward’s Canyon. Only this side gorge offers conditions suitable for the ancient King Fern. There is just one colony in the entire National Park!
TOP TIP: On a warm day, plan to have an extended lunch break in here. The natural air conditioning will be a welcome relief.
Amphitheatre
-
8.6 km return. Intermediate.
One way in - one way out.
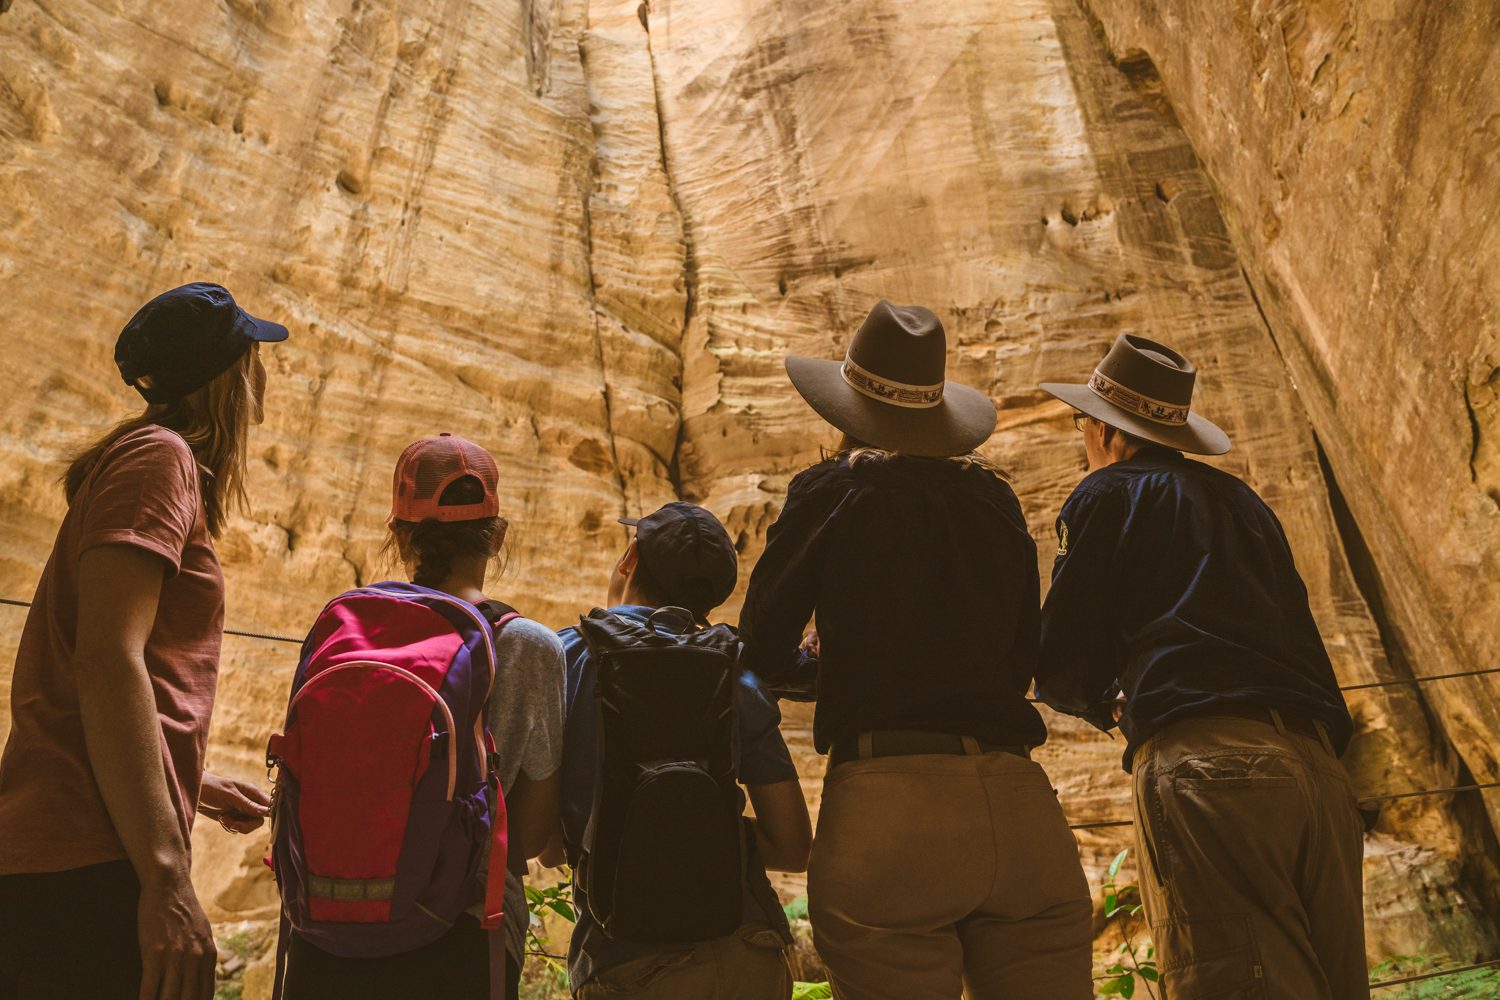
Our very own natural cathedral! A certain sense of reverence falls upon most went entering this space. And with 360 degree views of sandstone cliffs towering 60 metres overheard, it’s not hard to see why! This must-see natural wonder is just 550 metres from the main track, so why would you miss it?
TOP TIP: For a longer walk, start and finish at the Day Use Area. 4 km return.
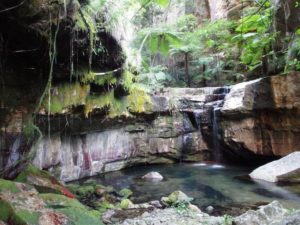
Moss Garden
-
7 km return. Intermediate.
One way in - one way out.
The perfect spot for a picnic lunch, a kip in the shade, or an afternoon swim following a big day of walking. This is a nice short walk from the car park, but has a few uneven patches so watch your footing. If you prefer to have places like this to yourself, be sure to visit early in the morning.
TOP TIP: For a longer walk, start and finish at the Day Use Area. 4 km return.
Upper Gorge
Get started early, and set a good pace, as you’ll have close to 10 km of walking just to reach the first major site, Cathedral Cave. Luckily, the other two major sites in the Upper Gorge, Boowinda Gorge and Big Bend, are very close by. So it makes sense to visit all three on the one walk.
If you’ve already completed the Lower Gorge section you’ll be retracing some of your steps, but once you pass the Art Gallery turn-off you’ll be in uncharted territory, so slow down, take in your surroundings, and enjoy the fact that only 40% of walkers make it this far, making for a much quieter walk.
Plus, the further you venture into Carnarvon Gorge, the narrower it becomes, which makes for some pretty epic cliff scenery unlike any other views at the Gorge. However, beyond the Art Gallery turn-off, the stepping-stone creek crossings are not maintained by the National Park Rangers, and some can be quite challenging. So, exceptional balance and waterproof boots with ankle support are essential!
You might be thinking, why on earth would I bother retracing my steps? Can’t I just do it all in one day? In short, yes, it is possible to visit all of the major sites in both the Upper and Lower Gorge in one day (with the exception of Battleship Spur). However, just because you can, doesn’t mean you should! Rushing from place to place just to squeeze them all in, does not do this place justice!
And remember, this may be a once in a lifetime experience! So slow down, allow quality time at each site, and you’ll be in a much better position to carry those beautiful memories with you for many years to come.
Top Tip
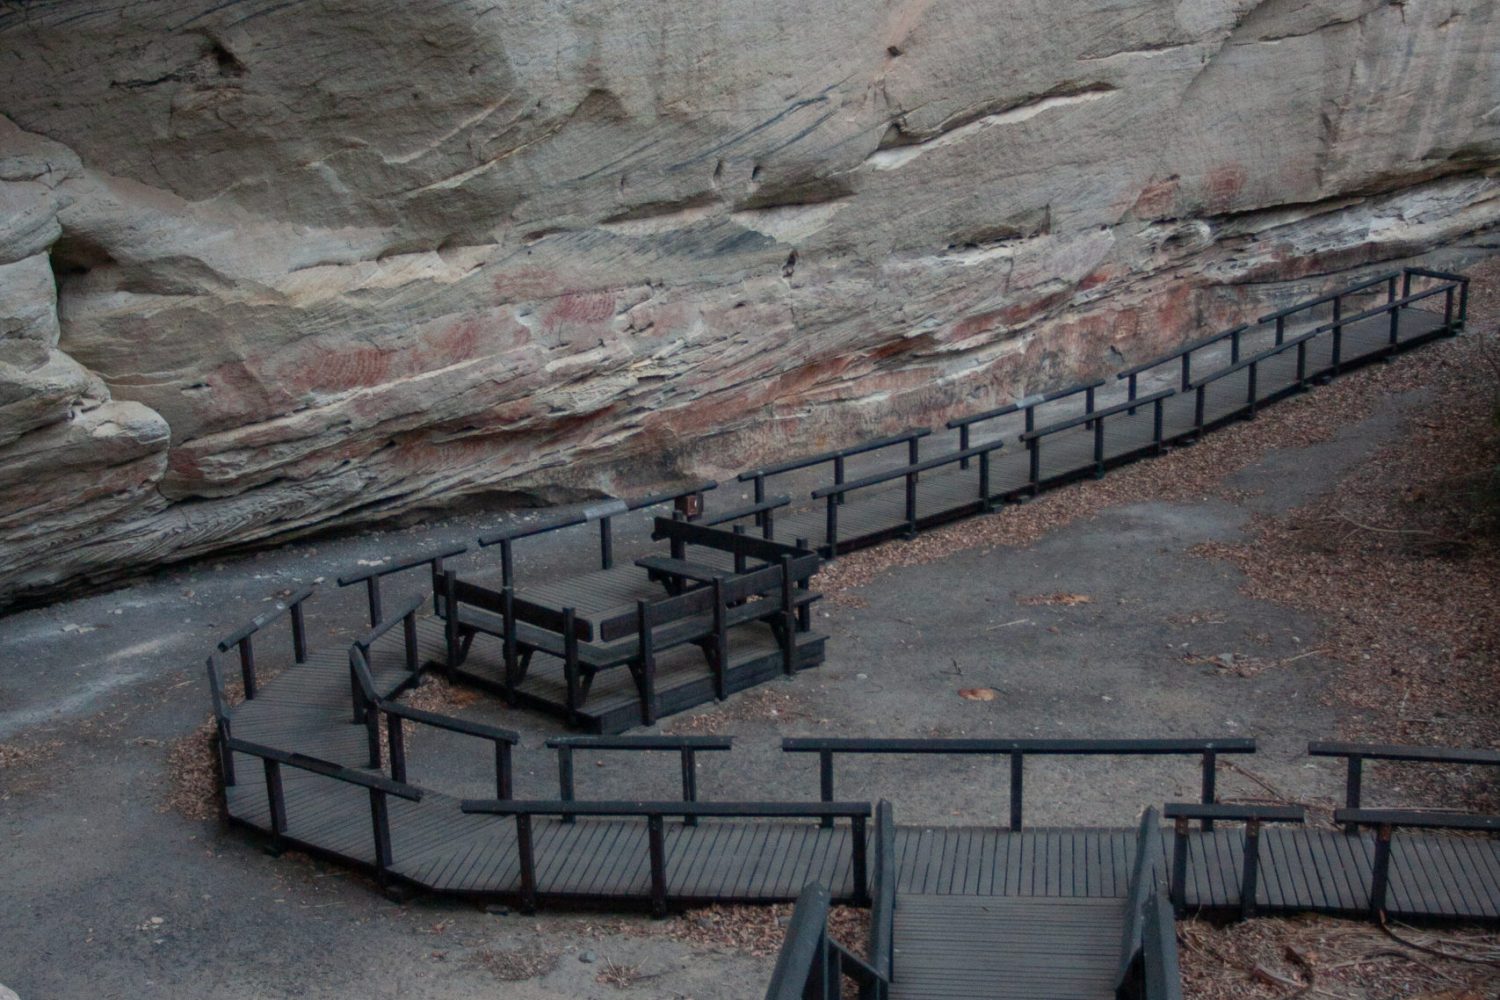
Cathedral Cave
-
19.2 km return. Intermediate.
One way in - one way out.
This is another rock art site of great cultural significance to the Karingbal and Bidjara peoples.
There are similarities between this site at the Art Gallery. However, there are some important distinctions to make too.
Firstly. this is considered to be a place where general gatherings took place. Whereas the Art Gallery was primarily used for carrying out a range of ceremonies,
As a result, Cathedral Cave offers a wide range of stencilled, engraved and free hand motifs, some of which are unique to this site.
TOP TIP: For a longer walk, start and finish at the Day Use Area. 4 km return.
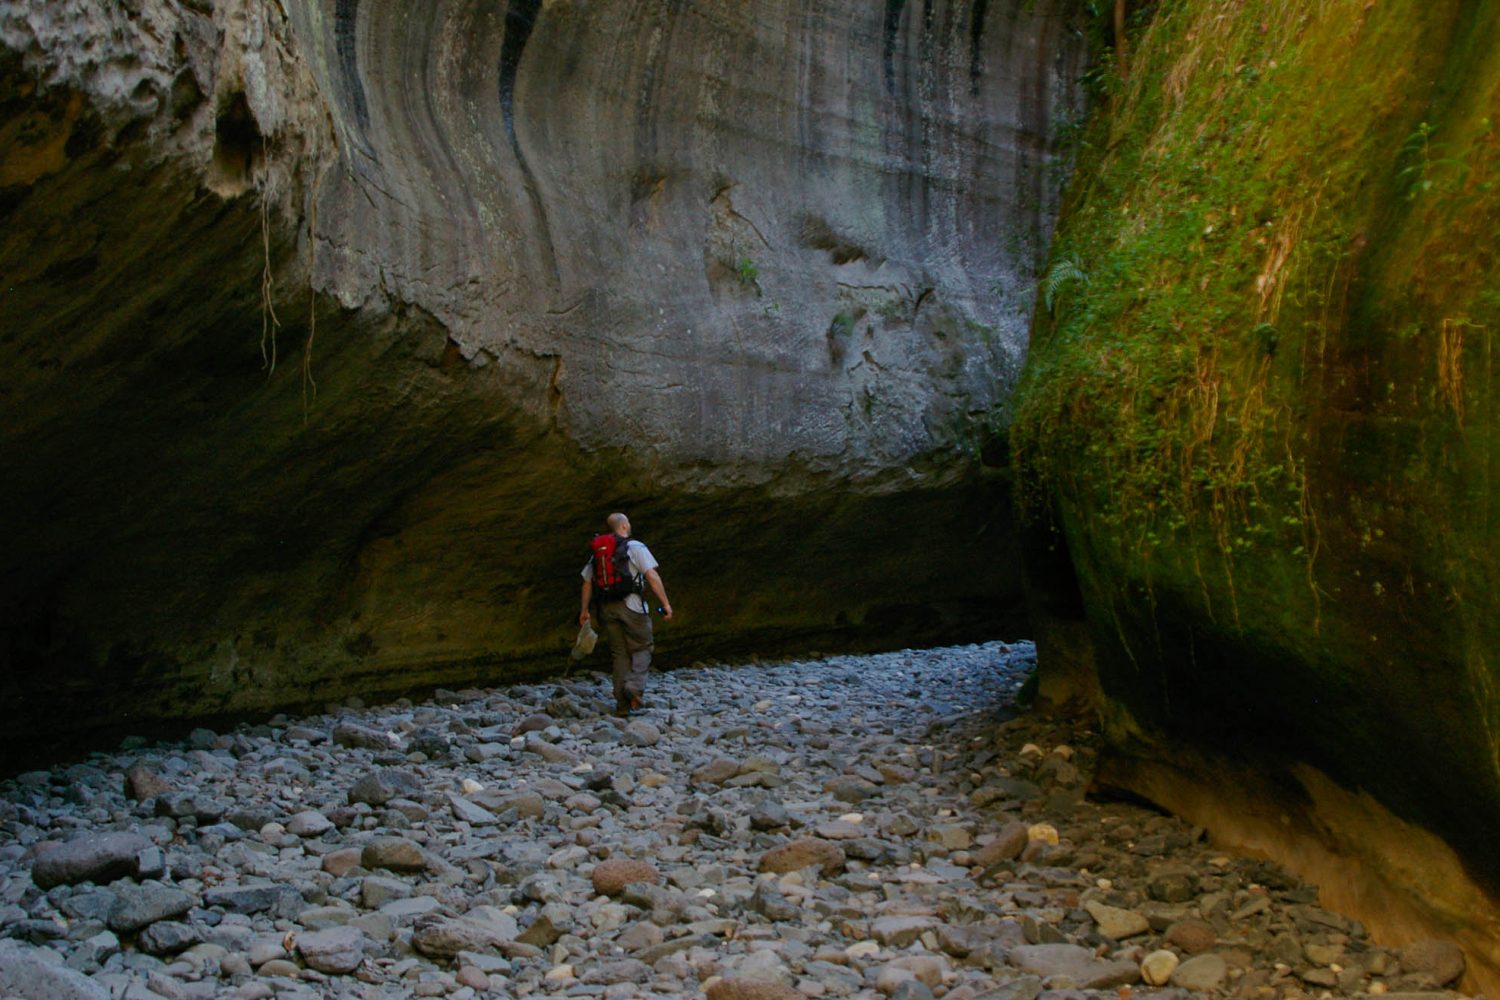
Boowinda Gorge
-
20 km return. Intermediate.
One way in - one way out.
It’s not hard to see where creation being, Mundagarra (Rainbow Serpent), has travelled when exploring this sinuous side gorge.
It’s quite rocky underfoot, and takes some metal focus to stay upright, but it’s definitely worth the effort!
Boowinda, an Indigenous word for thunder, warns of the perils of exploring this site during a storm. So watch the weather, and be prepared to change your plan if need be.
TOP TIP: The first 200 – 300 metres of this side gorge are the most impressive.
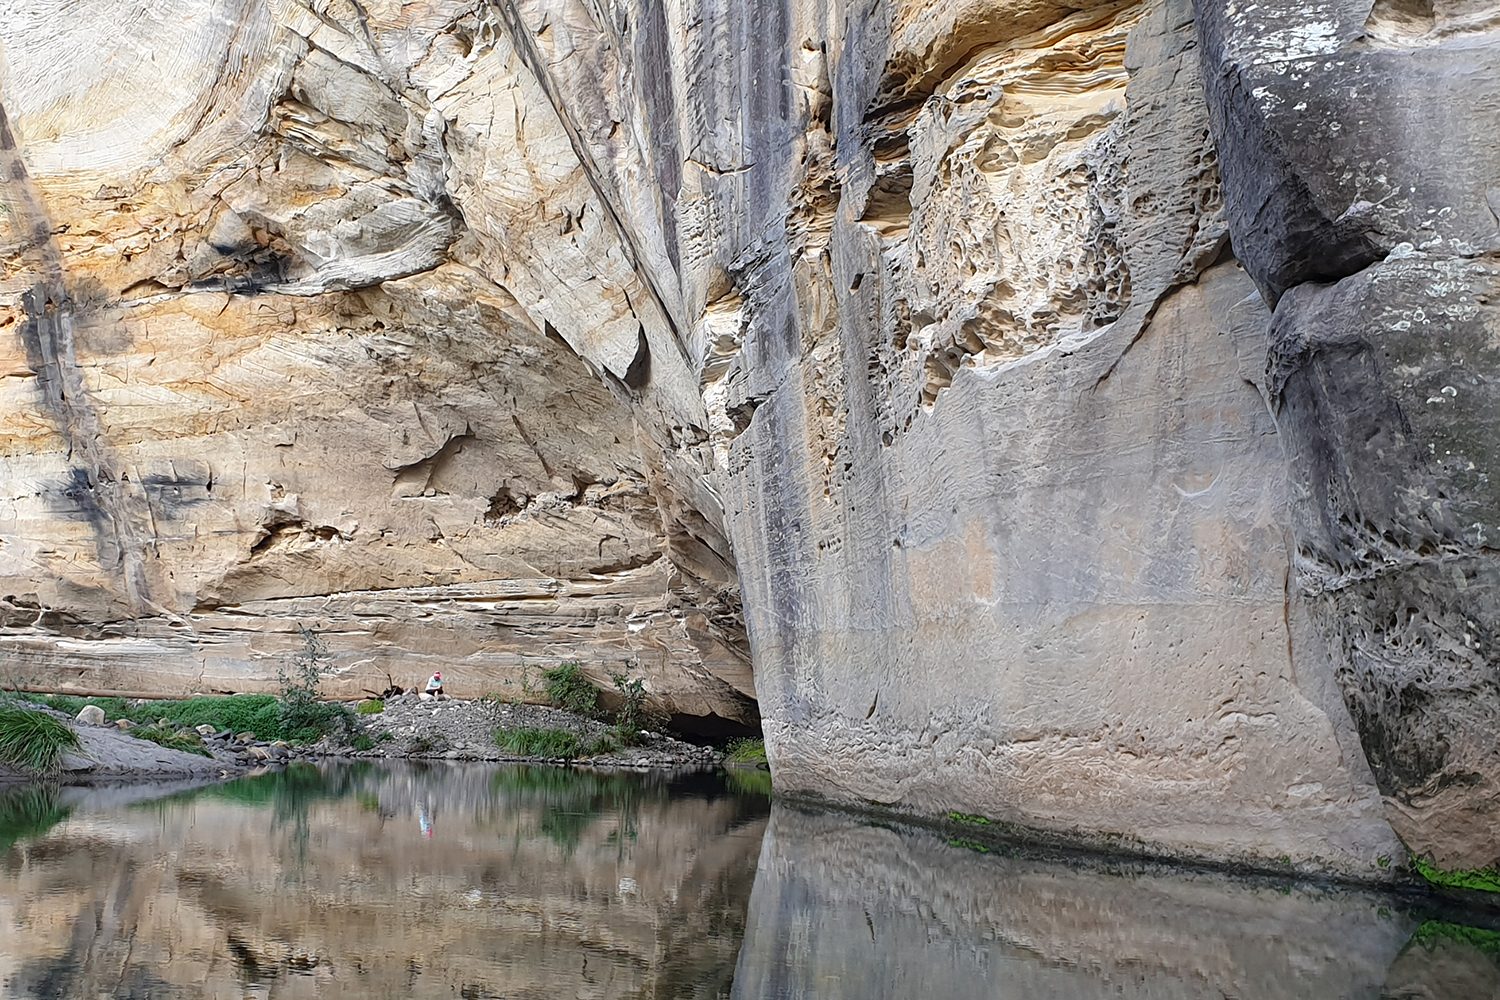
Big Bend
-
20 km return. Intermediate.
One way in - one way out.
We’ve never understood why so many people skip this beautiful spot! It may be labelled as a campsite, but it has so much more to offer.
As the name suggests, there is a big bend in Carnarvon Creek, which the cliff line follows in spectacular fashion.
Plus, you’ll encounter the only toilet up that end of the walking track system, which will no doubt be a welcome sight!
TOP TIP: Plan to be here for lunch. The picnic table, toilet and beach make this a great turn around point.
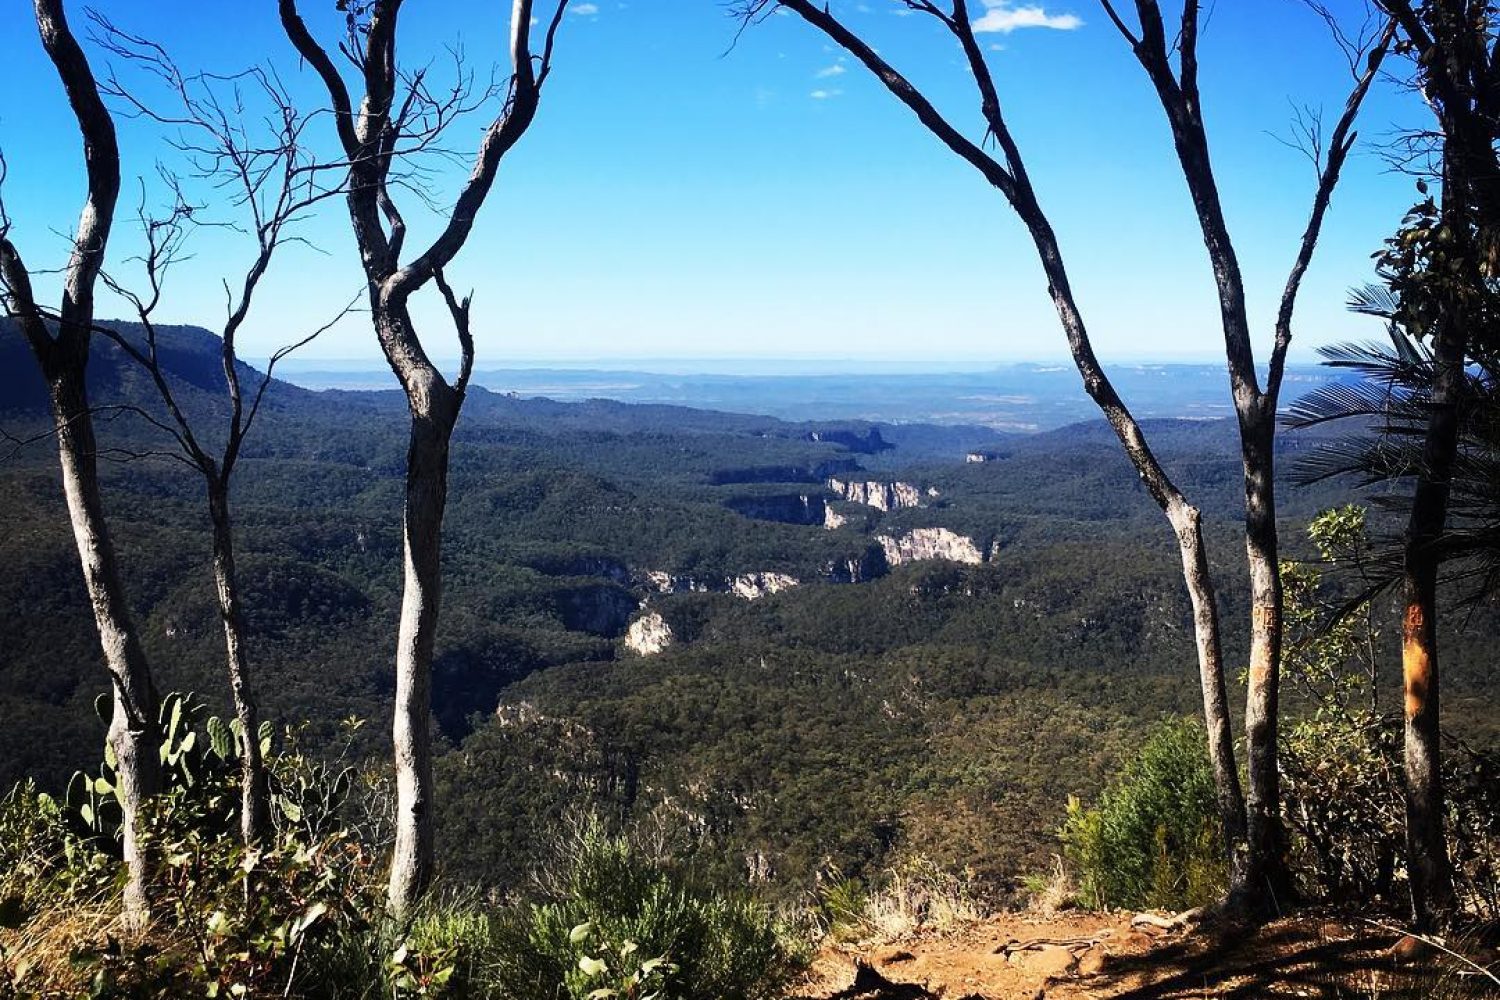
Battleship Spur
-
30 km return. Advanced walkers only!
One way in - one way out.
This walk is definitely not for the feint hearted! 30 km in one day is mission. Throw in a 640 metre elevation gain, and it is a monster!
Only experienced walkers with appropriate safety equipment, such as a first aid kit and emergency communication device (satellite phone, EPIRB, or SPOT device) should attempt this walk.
TOP TIP: If you have lightweight camping gear, book a night or two at Big Bend, which will give you heaps of time to enjoy this experience.
